Physical Therapy After IVDD Surgery: What's Safe
Which exercises are safe after IVDD surgery — and which can set your dog back. What caregivers wish they'd known about rehab timing, home PT, and knowing when…
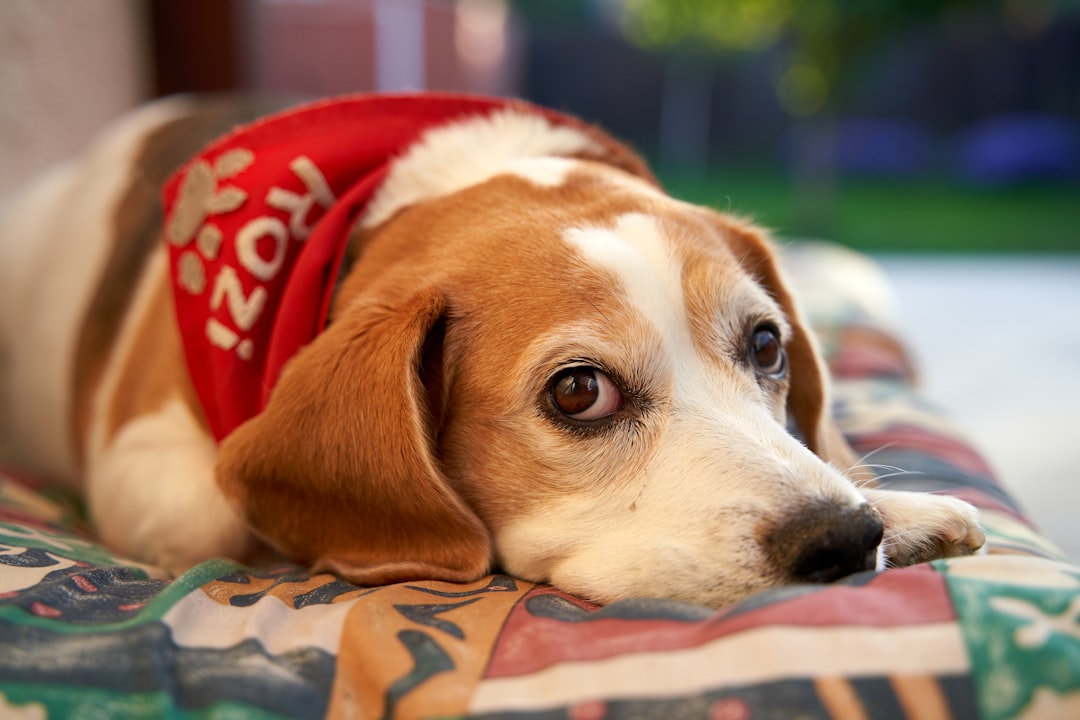
Photo by Barnabas Davoti on Unsplash
The exercises you choose after IVDD surgery matter as much as the surgery itself — pick the wrong ones too early, and you risk undoing the repair; skip them too long, and your dog loses ground they may not get back.
For the week-by-week milestone map — when to expect first voluntary movement, when the incision clears, when activity restrictions lift — check out IVDD Surgery Recovery: A Week-by-Week Timeline. This article is the companion to that one: not what to expect, but what to do.
What Does “Safe” Actually Mean at Each Stage?
Safe means matched to what the healing spinal cord can handle right now — not what it could handle before surgery, and not what you hope it will handle in six weeks. The spinal cord and surrounding tissue go through distinct phases of healing, and the exercises that are ideal in phase one can be actively harmful in phase two if you skip ahead.
The IVDD staging framework matters here because a Grade 2 dog and a Grade 4 dog are not doing the same rehab program. A dog with mild weakness doing crate rest with conservative management follows a different progression than a dog who went into surgery without deep pain sensation. If you’re not sure what grade your dog was at presentation, your discharge papers should note it — or ask your surgeon directly at the first recheck.
The Three Broad Phases (Without the Calendar)
Rather than anchoring to specific weeks, think in phases that shift when your dog is ready, not when the calendar says so:
- Phase 1 (Acute healing): Passive movement only. Your dog is not yet cleared for weight-bearing. The goal is preventing muscle loss and keeping joints mobile.
- Phase 2 (Early active): Assisted standing and short, supported walks. Your dog is beginning to bear some weight. Movement is supervised and brief.
- Phase 3 (Strengthening): Longer walks, controlled strengthening exercises, and gradual return to normal activity. This phase can last months.
What Can I Safely Do at Home?
Most owners can safely perform the following without a rehab clinic — but I’d strongly recommend having a certified canine rehabilitation therapist watch your technique at least once before going it alone. VCA Hospitals notes that certified canine rehabilitation practitioners can teach owners home programs that extend what happens in clinic, making your daily work far more effective.
Passive Range-of-Motion (PROM)
This is the cornerstone of early post-op PT. You move the limb through its natural range — your dog does nothing. The goal is maintaining joint flexibility and stimulating circulation to the affected limbs.
How to do it: With your dog lying on their side, gently flex and extend each hind-leg joint (hip, knee, ankle) through a comfortable range, as if slowly pedaling a bicycle. Move slowly. Stop at any resistance. Do 10–15 repetitions per joint, two to three times a day.
What makes it safe: You are not asking the spinal cord or muscles to fire. There is no weight-bearing. As long as you stay within the natural range of motion and watch for pain signals, PROM is generally appropriate even in the first days post-surgery.
Gentle Massage
Light effleurage (long, slow strokes along the muscle belly) helps with circulation and can reduce muscle tension. This is not deep tissue work — keep pressure light enough that you could do it on your own forearm comfortably. Avoid the surgical site until it is fully healed.
Assisted Standing
Once your surgeon clears brief standing, you can support your dog’s hindquarters with a sling or your hands and let them bear a small amount of weight on all four limbs. The goal is proprioceptive input — telling the nervous system that the paws are on the ground. Even 30-second sessions, a few times a day, can be meaningful for a dog working to rewire nerve pathways.
For dogs who are still unsteady, a rear-support harness is genuinely useful here. The Help ‘Em Up Harness was what we used with Heidi during early supported standing — it lets you provide steady lift under the hips without straining your back or fumbling with a towel sling mid-session.
Stimulation Exercises (Paw Awareness)
Gently tapping the dorsal (top) surface of the paw, or placing the paw knuckled-under and waiting to see if the dog corrects it, provides sensory input that may support neurological recovery. These are low-effort for your dog and can be woven into daily handling routines.
- PROM: 2–3 sessions daily, 10–15 reps per joint
- Assisted standing: 2–4 sessions daily, 30–60 seconds each
- Massage: once daily, 5–10 minutes
- Paw stimulation: can be incorporated into any session
What Needs a Rehab Vet?
Some modalities are not safe to attempt at home without professional training and equipment.
Underwater treadmill (hydrotherapy): The buoyancy of water allows your dog to practice walking movements with reduced weight-bearing, making it ideal for the early active phase. The controlled environment also allows the therapist to observe gait abnormalities that are hard to catch on dry land. You can read more about how this works in Hydrotherapy for IVDD Dogs: Underwater Treadmill Rehab Explained.
Neuromuscular electrical stimulation (NMES/TENS): Small electrical pulses prompt muscle contractions in limbs with reduced voluntary movement. This requires proper electrode placement and clinical judgment — done incorrectly, it can cause muscle fatigue or skin irritation.
Balance board and proprioceptive challenges: Wobble boards, cavaletti poles, and terrain variation are excellent for later-stage strengthening, but they require careful supervision because a stumble on unstable equipment can cause a fall or a setback.
Laser therapy: Cold laser applied to the spine and surrounding musculature is widely used in rehab settings to reduce inflammation and support tissue healing. This is a clinic-based modality — home laser units exist but lack the power and precision of clinical equipment.
- Ask your neurologist or surgeon for a referral — many have established relationships with canine rehab practices
- Look for credentials: CCRT (Certified Canine Rehabilitation Therapist) or CCRP (Certified Canine Rehabilitation Practitioner)
- Frequency varies by stage: early on, you may go 2–3 times per week; later stages often shift to once weekly with more home work between sessions
How Do You Know If You’re Pushing Too Hard?
This is the question I hear most often from caregivers who are doing everything right and still second-guessing themselves. The honest answer: your dog will tell you, if you know what to look for.
The clearest signs you are moving too fast include:
- Yelping or flinching: Any vocalization during an exercise is a hard stop. Pain during PT is not “working through it” — it is feedback the current exercise is not appropriate.
- Muscle trembling that persists: Some trembling during supported standing is normal, especially early on. Trembling that doesn’t stop within a few seconds after you lower your dog suggests they’ve hit their limit.
- Refusal to engage: A dog who was doing assisted standing willingly yesterday and today actively resists or tries to escape the position is telling you something. Don’t push through behavioral refusal.
- Day-after stiffness or soreness: If your dog is noticeably stiffer or more reluctant to move the morning after a PT session, the session was too long or too intense. Back off.
- Regression in neurological signs: If a dog who was beginning to show voluntary movement stops showing it after a particularly active session, rest and contact your vet.
- Yelping, flinching, or crying during exercises
- Trembling that continues after the exercise ends
- Active refusal of movements the dog previously tolerated
- Increased stiffness or pain the following day
- Any regression in neurological function after an active session
What About Dogs Who Aren’t Improving?
Some dogs make slow progress. Some plateau. A few never regain voluntary movement. Physical therapy remains valuable in all of these cases, even if the goal has shifted from recovery to maintenance.
For dogs without deep pain sensation — the most severe presentation — there is still meaningful work to do. Passive exercises prevent contractures (permanent joint stiffening), maintain circulation, and reduce the risk of pressure sores. If you are navigating the longer road of a dog who may not walk again, The IVDD Dog Who Never Regains Feeling: A Long-Term Reality Guide covers what ongoing care actually looks like.
For dogs who were making progress and then stopped, a setback isn’t always permanent. Sometimes it’s a sign of overexertion. Sometimes it points to a medical issue — infection, pain, a secondary problem — that needs attention. IVDD Recovery Setbacks: What’s Normal vs. a Vet Call is a good reference for reading those situations clearly.
- Sudden loss of movement that was previously present
- Crying or guarding that wasn’t there before
- Incision swelling, discharge, or warmth
- Loss of bladder or bowel control that had previously improved
Related Reading
- IVDD Surgery Recovery: A Week-by-Week Timeline
- IVDD Physical Therapy at Home: Rehab Exercises
- Hydrotherapy for IVDD Dogs: Underwater Treadmill Rehab Explained
Frequently Asked Questions
When can I start physical therapy after my dog’s IVDD surgery?
Most rehab vets recommend beginning very gentle passive range-of-motion exercises within the first few days after surgery, once your dog is out of acute pain. Active exercises — anything that requires your dog to bear weight or move independently — generally follow later, once your surgeon clears increased activity.
Can I do IVDD physical therapy at home, or does it need to be at a clinic?
Many exercises can be done safely at home, including passive range-of-motion, gentle massage, and supported standing. Underwater treadmill sessions, balance board work, and electrical stimulation must be done with a certified canine rehabilitation therapist. A rehab vet can teach you the home exercises and watch your technique in the first session.
How do I know if I’m pushing my dog too hard in PT?
The clearest signs are yelping or flinching during an exercise, muscle trembling that doesn’t stop quickly, refusing to engage with a movement they did willingly before, and being noticeably sore or stiff the following day. If you see any of these, stop that exercise and check in with your rehab vet.
What if my dog never regained deep pain sensation — should we still do PT?
Yes. Physical therapy helps prevent muscle atrophy, maintain joint range of motion, and improve circulation regardless of neurological status. A dog without deep pain sensation can still benefit enormously from passive exercises, hydrotherapy, and supported mobility. Your vet and rehab therapist can tailor a plan based on what your dog can actually feel and do.
This guide is based on real experience and should be used alongside professional veterinary care. Always consult your veterinarian before starting any new treatment or making changes to your dog’s care plan.