Ramps vs. Stairs for Hip Dysplasia Dogs
Should your hip dysplasia dog use a ramp or pet stairs? What caregivers and rehab vets consistently recommend — plus what to look for when buying.
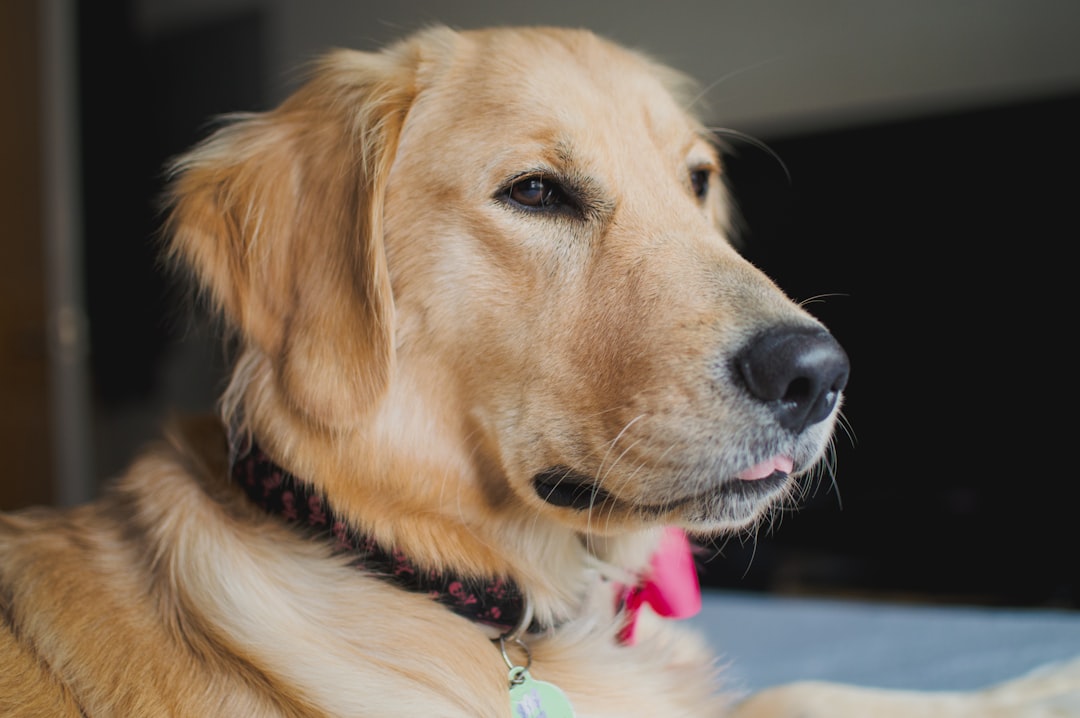
Photo by Alexis Arupo on Unsplash
For a dog with hip dysplasia, the difference between a ramp and pet stairs is not just a matter of preference — it can be a matter of daily pain.
Hip dysplasia means the hip joint doesn’t fit together properly — the ball and socket are misaligned, causing friction, inflammation, and progressive cartilage loss. Every time a dog with hip dysplasia hauls themselves up a step, they’re loading an already-compromised joint with a short burst of high effort. Do that dozens of times a day on and off the couch or in and out of the car, and you’re adding up a lot of wear on a joint that can’t afford it.
- Why ramps outperform stairs for most hip dysplasia dogs
- How to choose the right ramp angle and surface
- When pet stairs might still be acceptable
- How to introduce a ramp to a reluctant dog
Why Does the Choice Between Ramps and Stairs Actually Matter?
The step motion in pet stairs asks a dog to flex and extend the hip at a sharp angle repeatedly — essentially a mini-squat with each step. For a dog with a healthy hip, that’s trivial. For a dog with hip dysplasia, that repeated compression and extension can trigger pain, reluctance, and over time, faster joint deterioration.
A fully-planked bed ramp like the PetSafe CozyUp spreads that same elevation change across a longer, gentler slope. The muscles still work, but there’s no sharp hip-loading moment, and the dog can pace themselves. From what I’ve seen and heard from owners in the hip dysplasia community, switching to ramps is often one of the first changes that produces a visible, day-to-day improvement in how a dog moves around the house.
That said, the type of ramp matters as much as the choice to use one at all.
How Do I Choose the Right Ramp?
The right ramp for a hip dysplasia dog comes down to four things: angle, surface, length, and stability. The ideal ramp is shallow, grippy, long enough that it stays shallow, and solid enough that it doesn’t wobble underfoot.
Angle: Keep It Under 22 Degrees
The steeper the ramp, the harder the hip has to work to push the dog uphill. Most rehab specialists consider anything under 18–22 degrees to be in the acceptable range for dogs with joint conditions. A simple way to check: if your dog slows down noticeably or shifts their weight awkwardly near the top, the angle is too steep.
For most furniture (sofas, beds at standard height), a ramp of 48–60 inches in length will produce a gentle enough slope. For car access — especially SUVs and trucks — you may need a 62–72 inch ramp to keep the angle manageable.
Surface: Non-Slip Is Non-Negotiable
A dog with hip dysplasia is already compensating in their gait. Add a slick surface, and they’ll hesitate, scramble, or avoid the ramp entirely. Look for ramps with carpet, rubber, or textured foam surfaces. If your existing ramp feels slippery, adhesive non-slip tape (the kind used on outdoor steps) can fix most of them for a few dollars.
Width: Enough to Walk Straight
A ramp that’s too narrow forces dogs to adjust their stride, which in turn shifts load onto the hip. For small to medium dogs, 12–14 inches of walkable width is usually sufficient. For larger breeds — German Shepherds, Labradors, Golden Retrievers — look for 16 inches or more.
Stability: No Wobble, No Hesitation
A ramp that shifts or flexes when stepped on will teach a dog to distrust it quickly. Check that the feet grip the floor firmly and that the ramp surface doesn’t flex noticeably under your dog’s weight. Foldable ramps that telescope or accordion can work well, but test them loaded before relying on them.
- Your dog slows or stops halfway up
- They step off to the side before reaching the top
- You see visible hip-dropping or swaying on the way up
- They’ve started jumping again to avoid the ramp
When Can Pet Stairs Still Be Acceptable?
Pet stairs are not automatically off the table — but they have a narrower window of usefulness. For dogs with very mild hip dysplasia and low furniture (a standard-height sofa with two or three low, wide steps), well-designed pet stairs with deep, cushioned treads and a gentle rise height may be fine. The key is that each step’s rise is small enough that the hip extension required stays modest.
Once hip dysplasia is progressing — or if your dog is already showing signs like reluctance to get up, a bunny-hopping gait, or muscle wasting over the hindquarters — pet stairs tend to become more problem than solution. At that point, a ramp is almost always the better call.
For multi-story homes with real staircases, the answer is gates and ramps, not stairs. Many caregivers I’ve spoken with end up restricting their hip dysplasia dog to a single floor during flare-ups, which is far kinder than expecting them to negotiate a full staircase multiple times a day.
How to Introduce a Ramp to a Dog Who Refuses It
Ramp refusal is extremely common, and it usually comes down to one of two things: the surface feels unfamiliar underfoot, or the incline is more than the dog wants to tackle in one go. The solution to both is patience and very small steps.
Start by placing the ramp flat on the floor. Walk your dog across it a few times with treats. The goal at this stage is just to associate the surface with something good. Once they’re crossing it confidently, elevate one end a few inches — enough to feel an incline, but barely. Keep treating. Raise it a few more inches the next day, and the next.
Most dogs get comfortable with a ramp in three to seven days using this method. Rushing it almost always backfires.
- Day 1–2: Ramp flat on the floor, treats for crossing it
- Day 3–4: One end raised 3–4 inches, treats at top and bottom
- Day 5–6: Raise to half the intended height, continue treating
- Day 7+: Full height — your dog should now walk it confidently
For dogs managing significant hip pain alongside their mobility needs, pairing a ramp with an appropriate exercise and weight management plan makes a meaningful difference. Less body weight means less joint load — and a dog who moves comfortably on a ramp is a dog who’s more likely to stay active.
Related Reading
- Hip Dysplasia Home Care: Comfort, Safe Exercise & Diet
- Safe Exercise Routines for Hip Dysplasia Dogs
- 5 Signs Your Dog’s Hip Dysplasia Is Getting Worse
- Mobility tracker: spot mobility changes over time
Small changes in the home setup can shift a hip dysplasia dog’s quality of life more than people expect. A good ramp doesn’t fix the underlying joint problem — nothing short of surgery does that — but it removes one of the most repetitive, low-grade stressors from your dog’s day. That matters. Especially on the hard days.
Frequently Asked Questions
Are ramps better than stairs for dogs with hip dysplasia?
Ramps are generally preferred over pet stairs for dogs with hip dysplasia because they allow a steady, low-impact incline rather than repeated step-up-and-down movements that stress the hip joint. The key is choosing a ramp with a gentle slope and a non-slip surface.
What angle should a dog ramp be for hip dysplasia?
Most rehab specialists recommend a ramp incline of no more than 18–22 degrees for dogs with joint issues. A shallower angle means less muscular effort to climb and less compression on the hip. If your dog hesitates at the bottom, the angle is probably still too steep.
Can pet stairs make hip dysplasia worse?
Repeated stair climbing can increase hip joint stress, particularly in dogs with moderate to severe hip dysplasia. Many caregivers and rehab therapists recommend switching to ramps and blocking stair access entirely as the condition progresses.
My dog refuses to use the ramp — what should I do?
Start with the ramp flat on the floor so your dog can walk across it and get used to the texture. Gradually elevate one end by a few inches at a time over several days, using treats and praise at each stage. Rushing the introduction is the most common reason dogs refuse.
This guide is based on real experience and should be used alongside professional veterinary care. Always consult your veterinarian before starting any new treatment or making changes to your dog’s care plan.